Follow These Steps
STEP 1
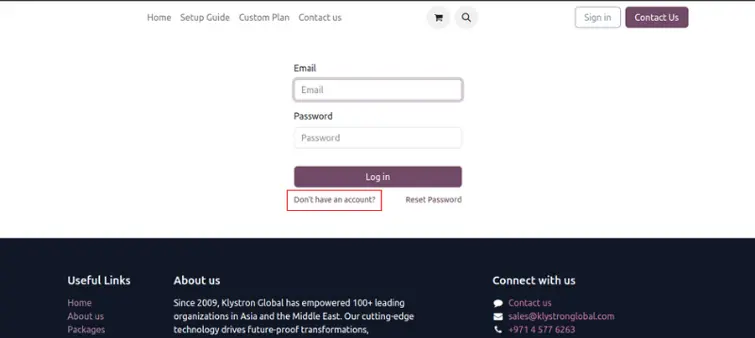
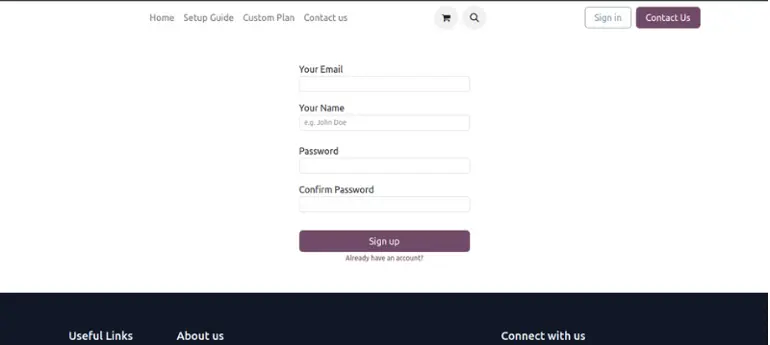
Sign Up with your valid email Id
- Sign up to the Odoo website with a valid E-mail Id to receive the emails when you place the order for creating SaaS instance. The mail contains login details for the SaaS users.
STEP 2
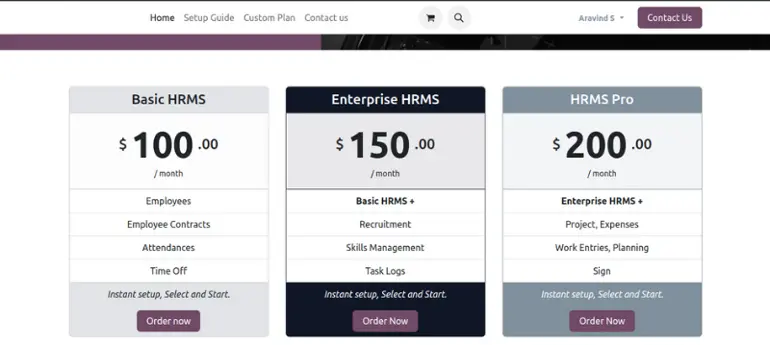
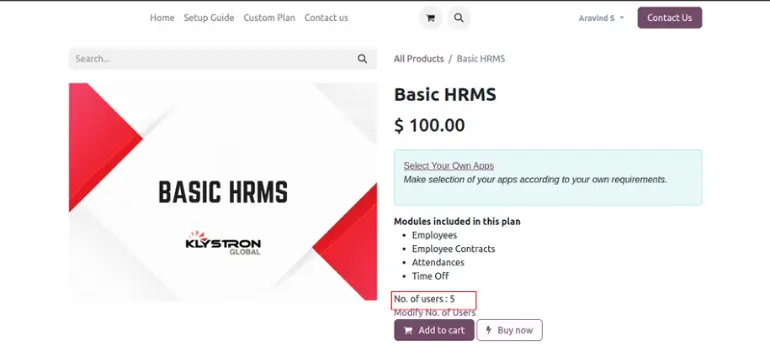
Selecting plan or modules
- Once you are logged in to Odoo website, go to the Custom Plan. Add the modules to your cart.
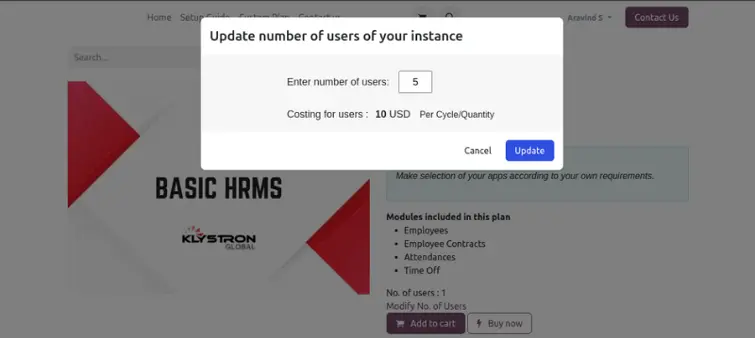
- Add the user count you want and proceed to place an order.
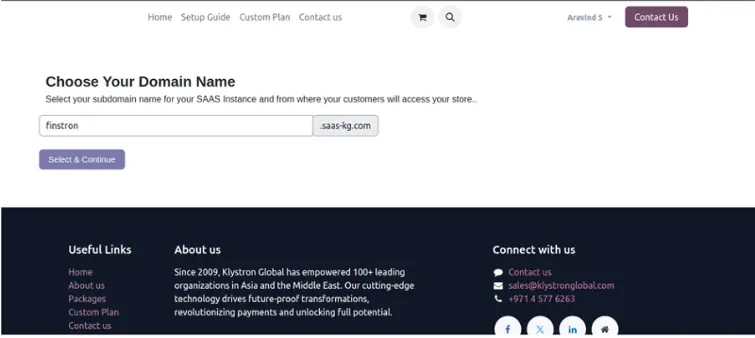
STEP 3
Setup your SaaS Domain Name & Create your SaaS instance
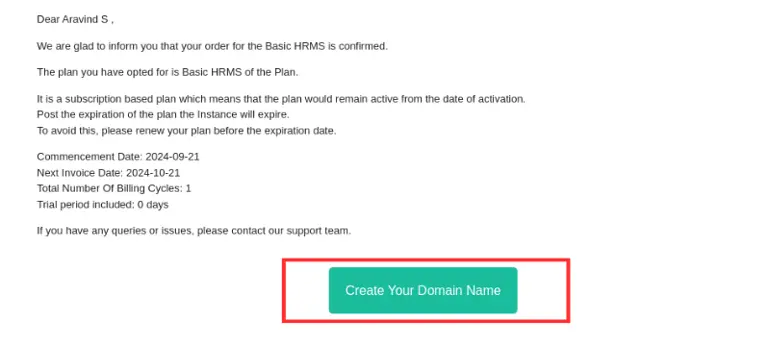
- Once you place the order, a corresponding SaaS contract is created in the back-end and you will receive a confirmation email on the email address that you have used while signing up. This email will contain the instructions to set the domain name for your SaaS instance.
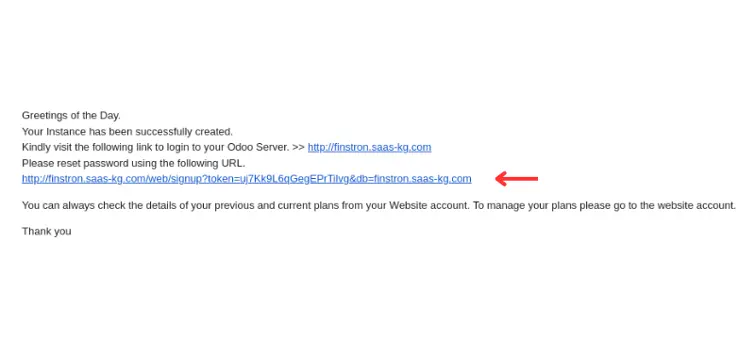
STEP 4
Setup the password and login
- Once you set and confirm your domain name, you'll receive another email with the login details for your Odoo SaaS instance.
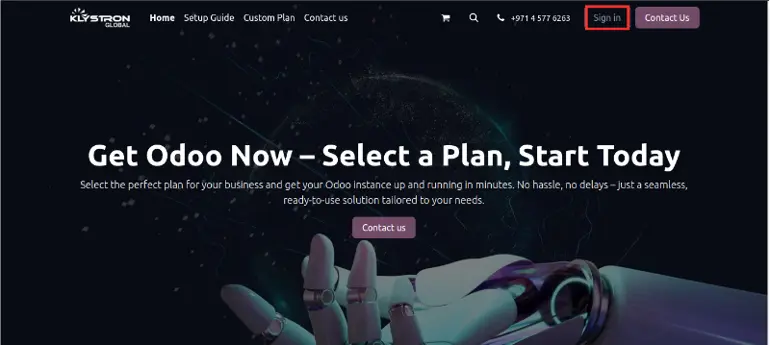
Sign In/Sign Up

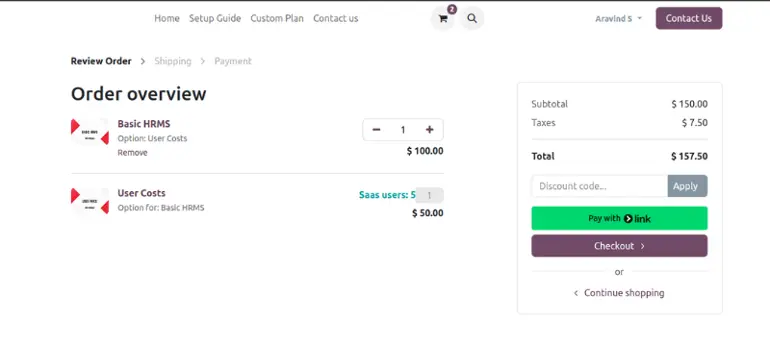
Choose a plan

Continue with payment
Check your mail
After a successful payment, you will receive a confirmation email.
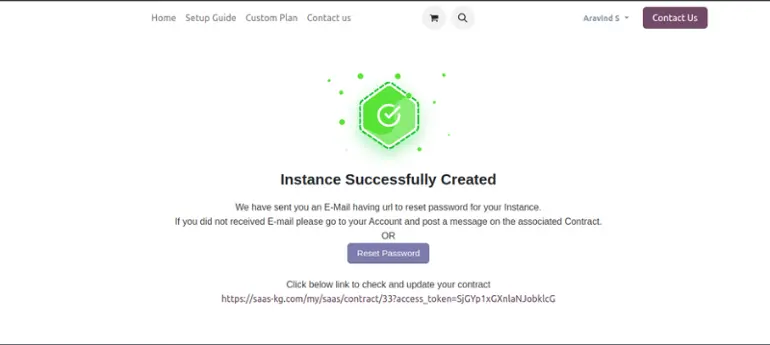
Check your mail
You will be redirected to the success page and receive an email with the URL of your new instance to set your password.
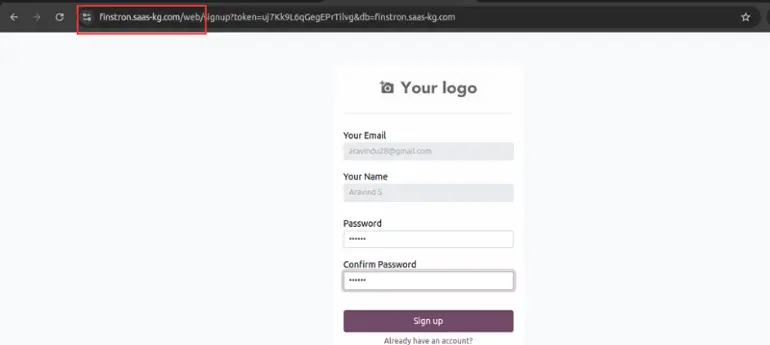
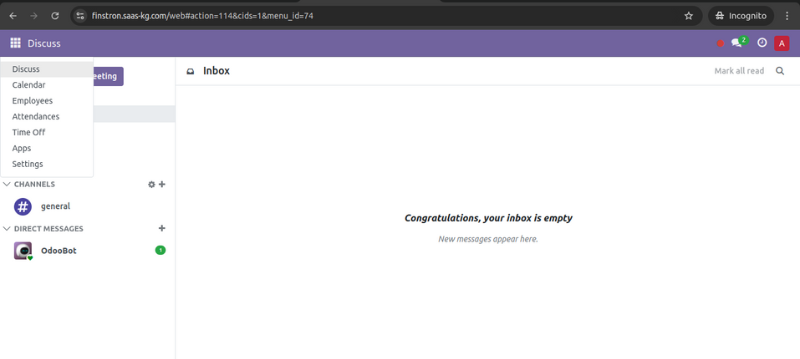
Your new instance
You can set a new password for your instance using your chosen subdomain.
Ready to use
All the modules in the selected package have been automatically installed. Your instance is now ready to go.
Reach out to us for support
Join us and make your company a better place.